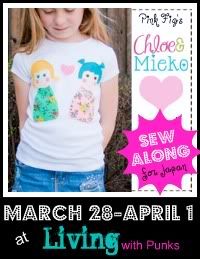
 This Sew Along was a blast! Here are my completed Chloe & Mieko shirts. I finished them last night but wasn't able to take pictures until today, thus the delay in my Day 3 post.
  I think besides the fact that it finally got me to drag the sewing machine out, I loved the fact that I was doing them along with so many other people. It was fun to sit down at night and see the progress other bloggers around the country had posted about that day. It didn't hurt that it was for a good cause!
  One of my favorite things about this project is that it allowed me to tell my children about what happened in Japan and to show them that there are many ways to help those that are in need. My daughter really loved getting involved in the process and picked most of the fabric/accent combinations you see. She asked me to tilt one of the hats to make the boy look "silly".
 I thought a lot about the kids that will wear these t-shirts since I made them in the same sizes my kids currently wear. I hope these t-shirts will give them some hope and let them know that people from all over the world care about them.
 I'd like to take this opportunity to thank Susan from Living with Punks for providing us with such a great way to give back to those in need. I had a wonderful time! Please visit her post today to see all the completed shirts that will be sent to Japan.
 Proudly linking to:


