Showing posts with label cricut. Show all posts

Sunday, September 9, 2012

Vintage Personalized Dinosaur T-shirts

Stegosaurus for Oliver


My friend's son is obsessed with dinosaurs. He has every dinosaur thing you can imagine, and even some you can't. I had seen a boy wearing a cool vintage-looking t-shirt at the park a couple of weeks ago and decided to try to make it since I was pretty sure my friend's son didn't have that one. Of course my son had to have one too!

T-Rex for David
I used the Sure Cuts a Lot software along with my Cricut to cut out each of their favorite dinosaur and the silly labels for underneath. I then used some fabric paint I got at the craft store from the clearance section (37 cents!) and ta da! You need to heat set the paint, and the easiest way to do this is with your iron. I found a great article that explains it in great detail here. I let the paint sit for 24 hours and it worked great! My son loves his t-shirt and has now decided he needs one for each type of dinosaur! It's a good thing they're easy and cheap to make!


I also quickly made this Angry Birds inspired one for my daughter's friend who was turning 6. I love the vintage look of these t shirts and especially how soft they feel.


Proudly linking to these awesome parties!!!


Tuesday, October 19, 2010

Girly Appliqued Onesies


Along with the Strawberry Knit Hat that I showed you a couple of days ago, I also made a couple of appliqued onesies for my friend's baby shower. I love making these onesies because they are easy to tailor to different individuals and are always well received. And let's be honest, a baby can never have too many onesies!


The princess crown was a given as my friend is having her first girl, and everyone is already calling her princess.


The strawberry is to go along with my current obsession and because I thought it matched the hat nicely.


These onesies are so easy to make! I use my Cricut to cut out the shapes, and then simply do a decorative stitch around with some embroidery thread. It would probably be easier and faster to do the stitches by machine, but I like the way the handmade ones look.


Lastly I would have liked to make an initial one like this one I made for my friend's son, but princess doesn't have a name yet. So that one will have to wait until she's born!

Proudly linking to:

Show and Tell Green
NightOwlCrafting make it wear it giveaways
Get your craft on Thurs. Katie's Nesting Spot

Monday, May 17, 2010

Flor de Lis Lavender Bath Salts

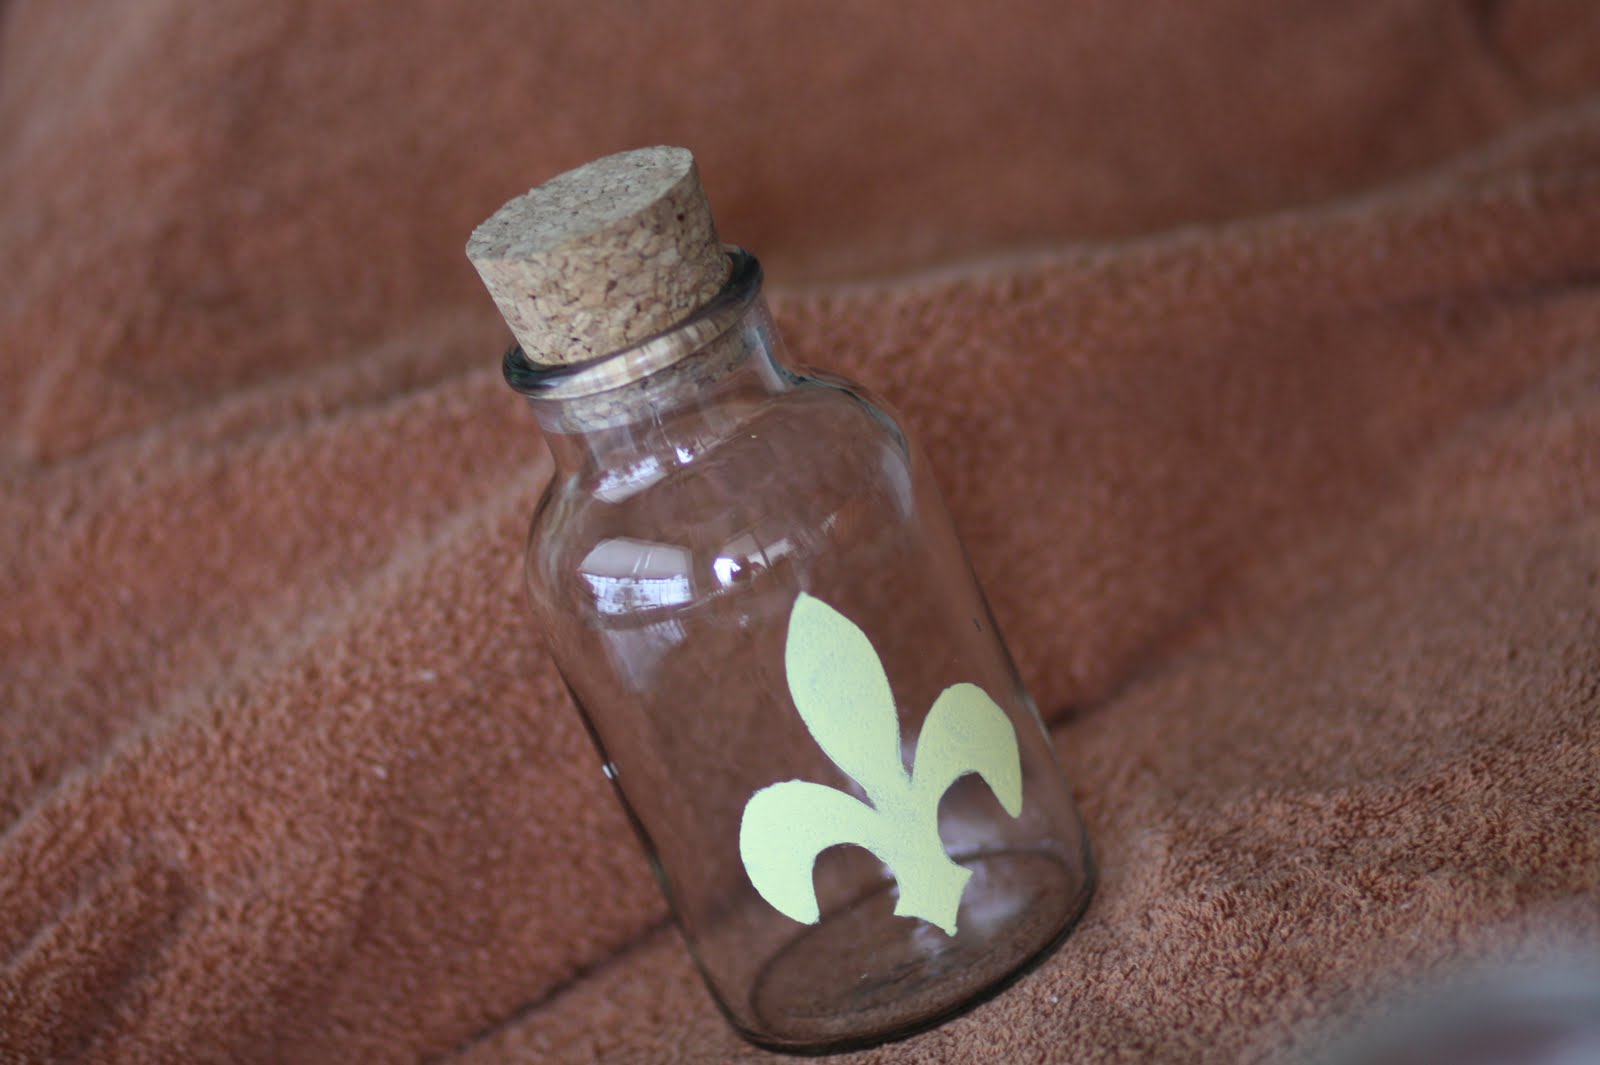
Remember the Numbered Jars Tutorial I posted a couple of days ago? Well, the same day I found those jars, I also found one with a cork topper. I threw it in the cart not really knowing what I would do with it, but I had to have it. While I was figuring out the stencil for the numbered jars, I saw a flor de lis on the keyboard of the Cricut and this idea came to mind!


I followed the same steps as with the numbered ones:


The only difference was the size, which was 3 inches for the flor de lis.


I used a lemony green that matches the accents in the master bathroom:


I filled it up with homemade bath salts, following this recipe from the wonderful Maggie over at Smashed Peas and Carrots.


While I was setting the salts up in my bathroom I remembered a silver spoon I had picked up at a vintage store in Rhode Island. It had been sitting in a drawer of the china cabinet for years with no purpose. I gave it a quick polish and think it looks so happy now!


Happy and at home, hanging from some delightful lavender bath salts!


Update: I am currently training for a 5K and used some of these in a post-run bath last night... they were FABULOUS!!! Please make some for yourself, for your mom, for a friend... they'll love you!

Proudly linking to: Frugalicious Friday,


Extreme Personal Measures

UndertheTableandDreaming Funky Junk's Saturday Nite Special

Numbered Jars Tutorial

I blame my lack of posting on my new toy... the Cricut! My wonderful husband and kids got it for me for Mother's Day and I am addicted. Last week's clothing challenge kept me away from it, but as soon as that was over, I knew what my next few projects would entail.

I got these jars at Goodwill a couple of weeks ago as I wanted to recreate this look from Pottery Barn.


First step is to wash the jars and dry them really well. Then create the stencil. This was very easy with the Cricut. I simply typed out the numbers and made sure to press FLIP. I used freezer paper and placed the shiny side down on the sticky mat. I used medium for both settings, and 2" for size.


Carefully peel the stencil off the mat- I wasn't careful enough and the three ripped a tad.


Place stencil on the jars with tape. I used painter's tape because we have some around the house since my husband is painting the living room, but you could use any type of tape.


Then using your preferred type of paint, color in the stencil. I used an acrylic paint in black. I tried to smudge the edges a bit on purpose to give it a more rustic look.


Let the jars dry and fill! I'm not sure if this is what will go in them forever, but it works for now since they are going on top of the cabinets in the kitchen.


1: Chickpeas


2: Rice


3: Pinto beans


Their destination, for now!


I created an additional stencil while making these today and will show you the finished product at some point this week. I'm so excited about my Cricut machine and can't wait to use it to cut out fabric!!!

Proudly linking to:

DIY Day @ ASPTL
Creations by Kara http://www.thethriftyhome.com Show and Tell Green